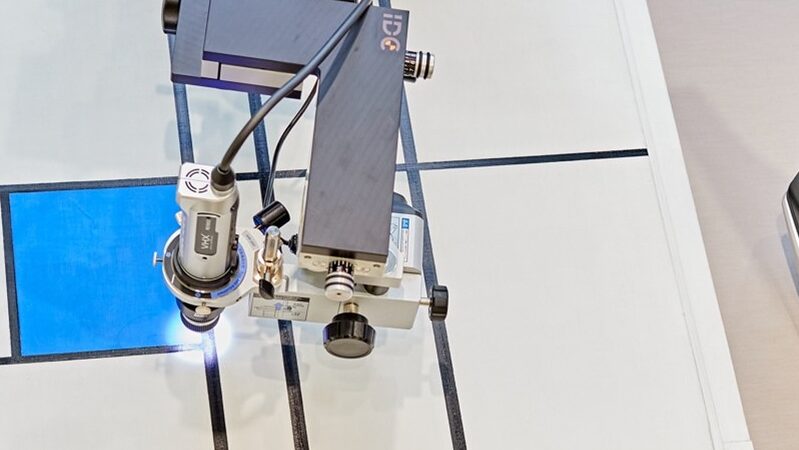
The Fondation Beyeler in Riehen (CH) now relies on Keyence, IDC Micro Inspection and FOBA for high-magnification and high depth-of-field images to examine and document its artworks. Download application note
Visual inspection system based on a Keyence microscope
Admin IDC2020-09-17T12:08:09+02:00IDC develops and builds a semi-automatic inspection system for lenses for a Swiss customer. Based on the Keyence VHX video microscope, the specially designed tripod with motorized XY stage and the specially developed software ScanXpro, a complete system for the automatic scanning of substrates up to 300mm is created. The acquired images are stitched together, classified with the IDC software ClassX and documented with a “Visual Inspection Map”.
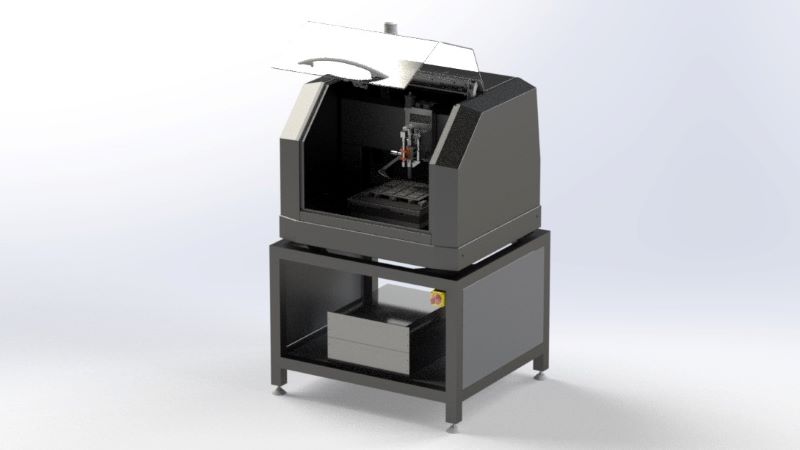
Automatic optical inspection system (AOI)
Admin IDC2020-05-04T22:35:37+02:00IDC is responsible for the project of a fully automated inspection system for semiconductor lasers. With two software developers the entire system is set up, the processes defined and put into operation. A second AOI has now been delivered and is supported by IDC.
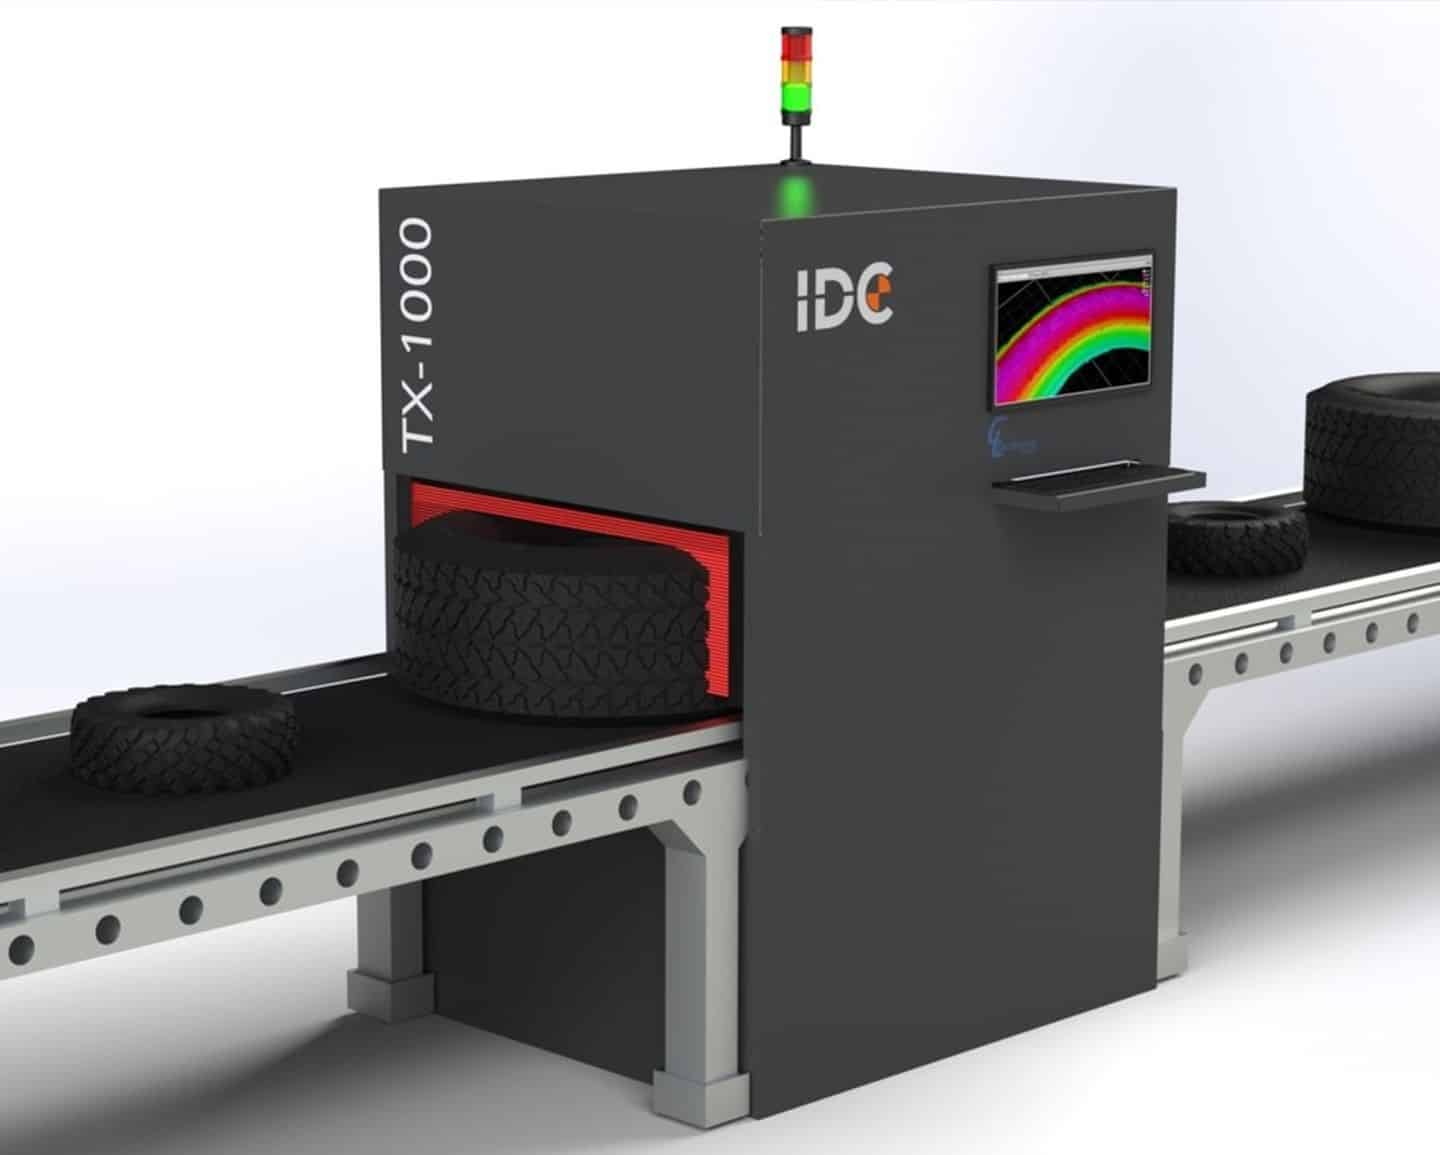
3D tire scanner
Admin IDC2020-05-04T22:16:53+02:00Reading and evaluating the labels on tire sidewalls automatically is a challenge. Especially if the tire is not rotating as usual but is transported on a conveyor belt. Different tire sizes and double-sided scanning impose high demands on software and hardware.
IDC develops and builds a prototype for a large logistics center in Switzerland. We have proven the feasibility of this project with a cooperation partner in Switzerland specialized in 3D data acquisition and analysis.
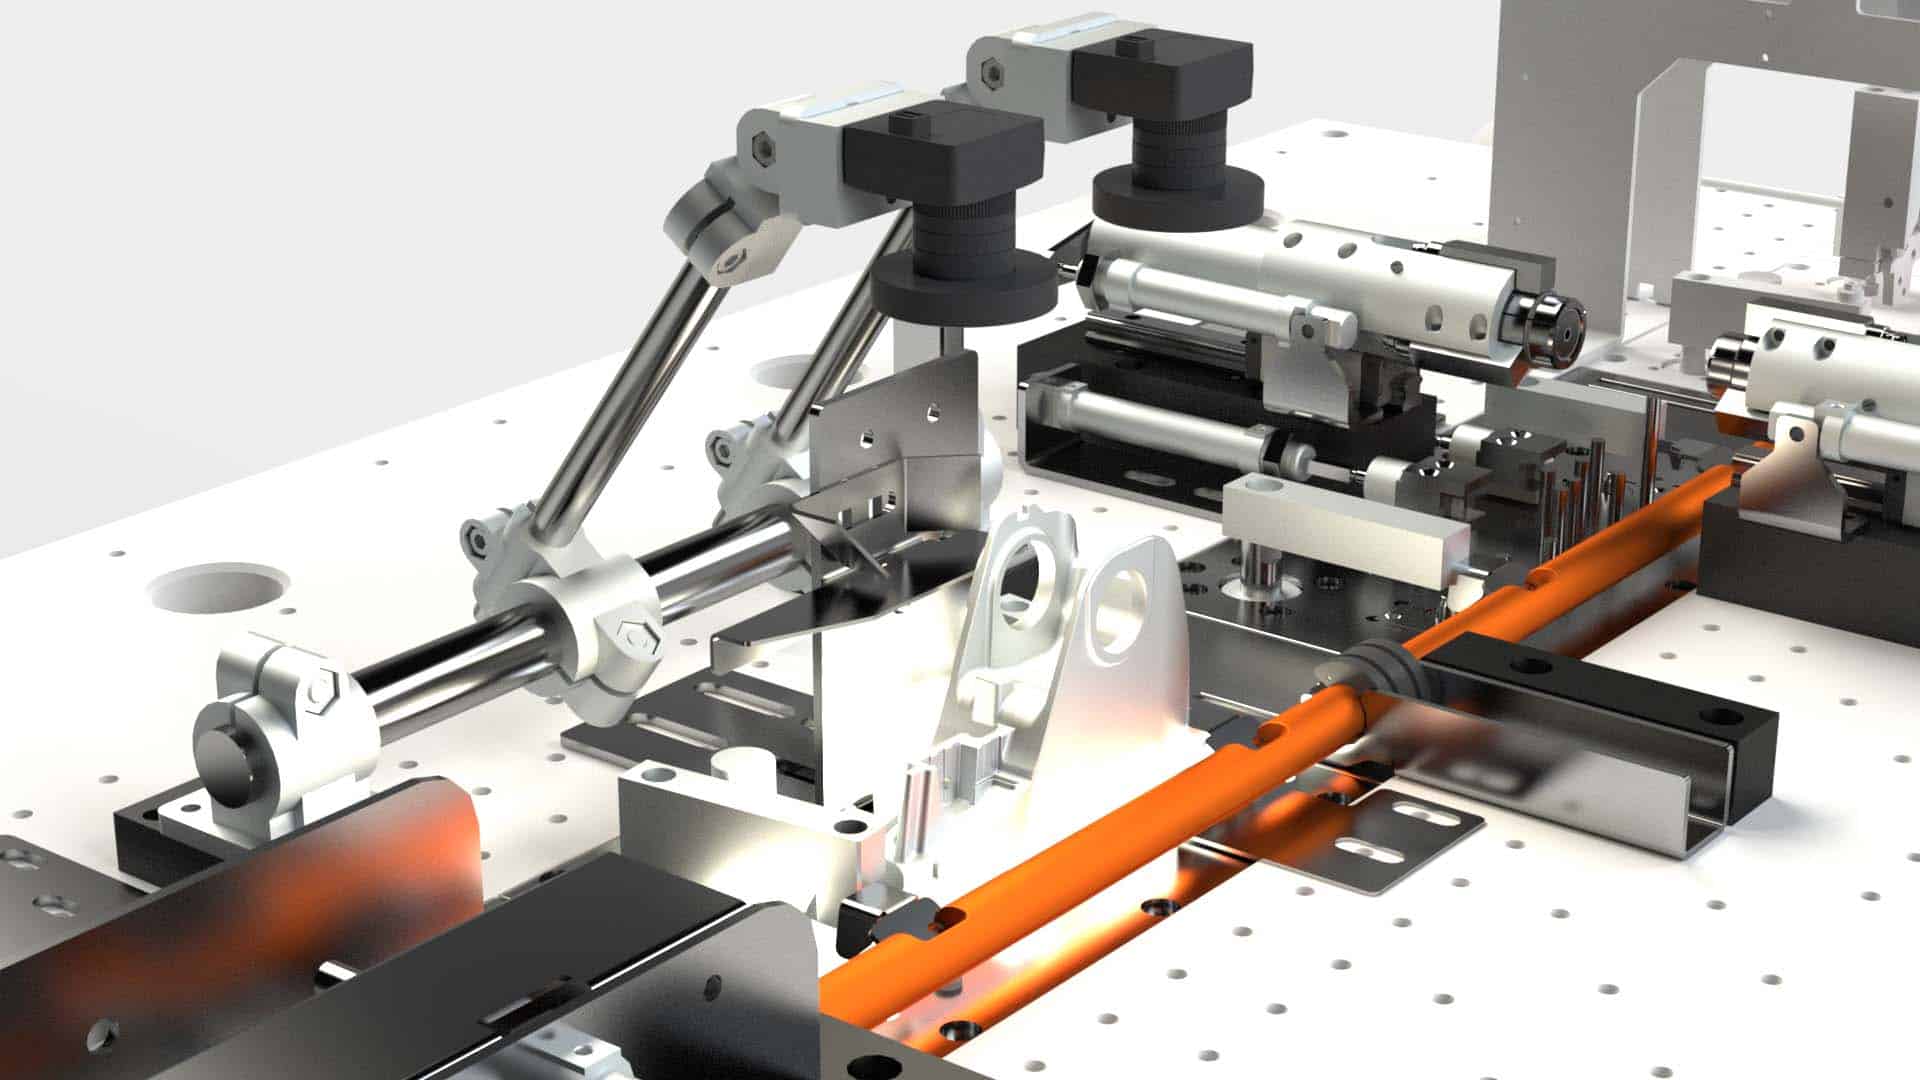
Fully Automatic Test System for Casted Parts
AlQuilitzsch2020-04-27T08:01:48+02:00IDC implements a turnkey solution for the automatic testing (optical and tactile) of casted parts as well as marking defective parts. In addition to the tactile test, a visual system for optical quality control is used. The system inspects and measures up to two million parts per year.


